With the rise of technology and the emergence of remote work, many people have become interested in the prospect of learning something new from the comfort of their homes. In fact, you can find almost any type of online education, ranging from technical on-demand videos and workshops to cohort-based courses and immersive VR learning.
According to a study by Statista, the global e-learning market is expected to reach $400 billion by 2026. In turn, this has created a huge opportunity for entrepreneurs and experts who are interested in creating and selling online courses of any kind.
Whether you are an expert in a field or just want to share your knowledge with others, there are many ways that you can generate revenue by leveraging your skills and expertise to create an online course. In this guide, we will discuss 6 key steps to successfully monetizing your brand and expertise through online learning and courses.
1. Identify your niche
The first step to monetizing your expertise is to identify a specific topic or set of topics that you want to focus on. This might be something that you are already an expert in, or it could be something that you want to develop your skills in and then offer to others. Whatever the case, it is important to have a clear focus so that you can create high-quality content and build your brand around a specific niche.
Many people dread this step, as it can be difficult to decide on a single topic. It is often easier to start with a broader topic and then narrow your focus over time, but the key is to pick something that tackles a real problem and also has a strong potential market.
There are many comprehensive courses out there that focus on the “Ultimate Guide” or “Complete Introduction to…” type of content, where the curriculum includes everything around the topic. These can be great courses, spanning hours of learning, but that does not mean that the topic is saturated or there is no space for new courses. You can always niche-down.
For example, you can breakdown a course into specific pain points, like this:
➡️ The Complete WordPress Website Builder Course
➡️ WordPress Landing Page Design (from Basic To Advanced)
➡️ WordPress Sales Pages and E-mail Automation for Real Estate
➡️ How to Create a WordPress Landing Page and Sell your Home Independently?
I can guarantee you that this little technique for dissecting a topic would come in handy during your research phase. If you want to get additional ideas for keywords and topics, you can always use tools like Ubersuggest and MarketMuse.
2. Create an outline for your course
Once you have identified your ideal topic, the next step is to create an outline for your course. This will help you determine the specific topics and subtopics that you want to cover, as well as how much content to include and how to structure the course.
You may want to create a detailed outline, or you might prefer to just have a general idea of the topics that you want to cover. Either approach is fine, as long as you have a clear structure in mind before you begin creating your course materials.
When creating an outline, I always use these two guiding principles and make sure I have one of each for every lesson produced.
The Learning Objective
These are statements that describe what the learner would be able to do after completing the lesson. They are simple to write and are a great way to set expectations. For example, a learning objective can be “At the end of this lesson, the learner would be able to differentiate between discrete and continuous statistics“. This is a straightforward and clear statement.
The Why Statement
This is the fun part! A why statement “pressure-tests” your learning objective and clearly explains the reason for the lesson and its real-world application. A why statement can be something like this “Knowing the difference between discrete and continuous statistics is critical, as that is the number one question asked by clients”.
3. Develop your content
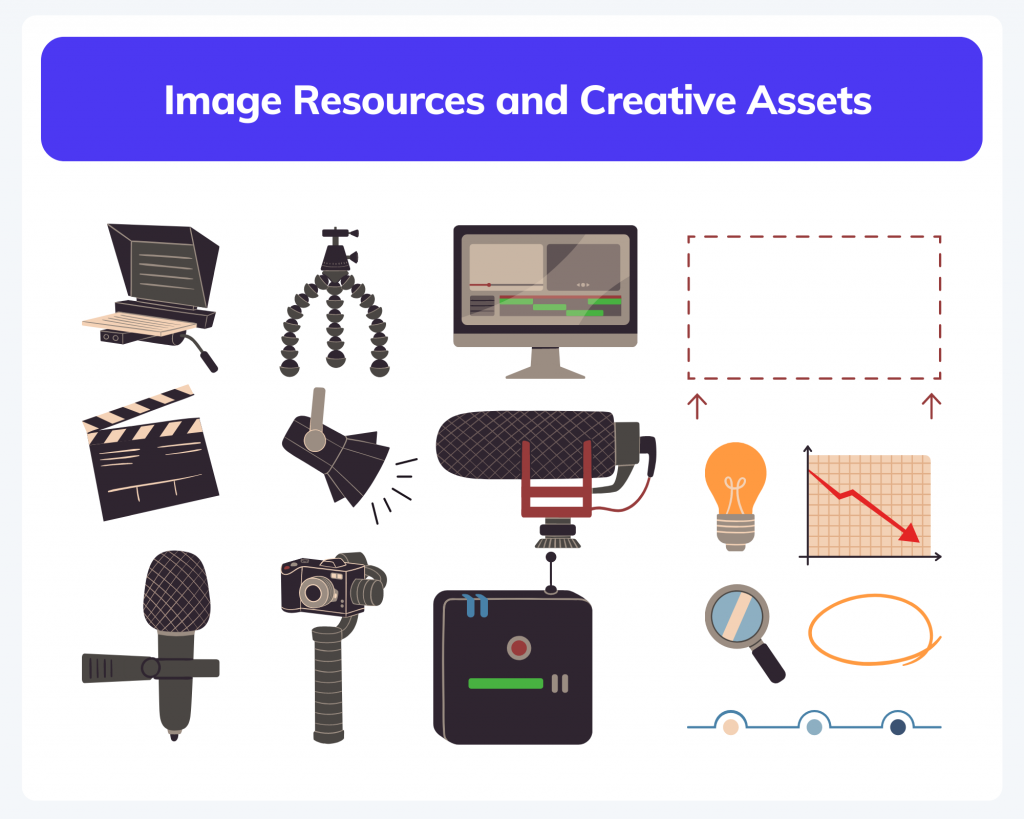
Once you have an outline in place, the next step is to develop your actual course content. This will likely involve creating video scripting, shooting live-action videos or recording screencast and audio content. You may also want to include resources such as worksheets, templates, or quizzes to help your students learn and practice the concepts that you are teaching.
Ideally, your content should be organized into sections so that users can easily navigate and complete the course. This will also make it easier for you to keep track of your progress and ensure that all of the content is included in your final course.
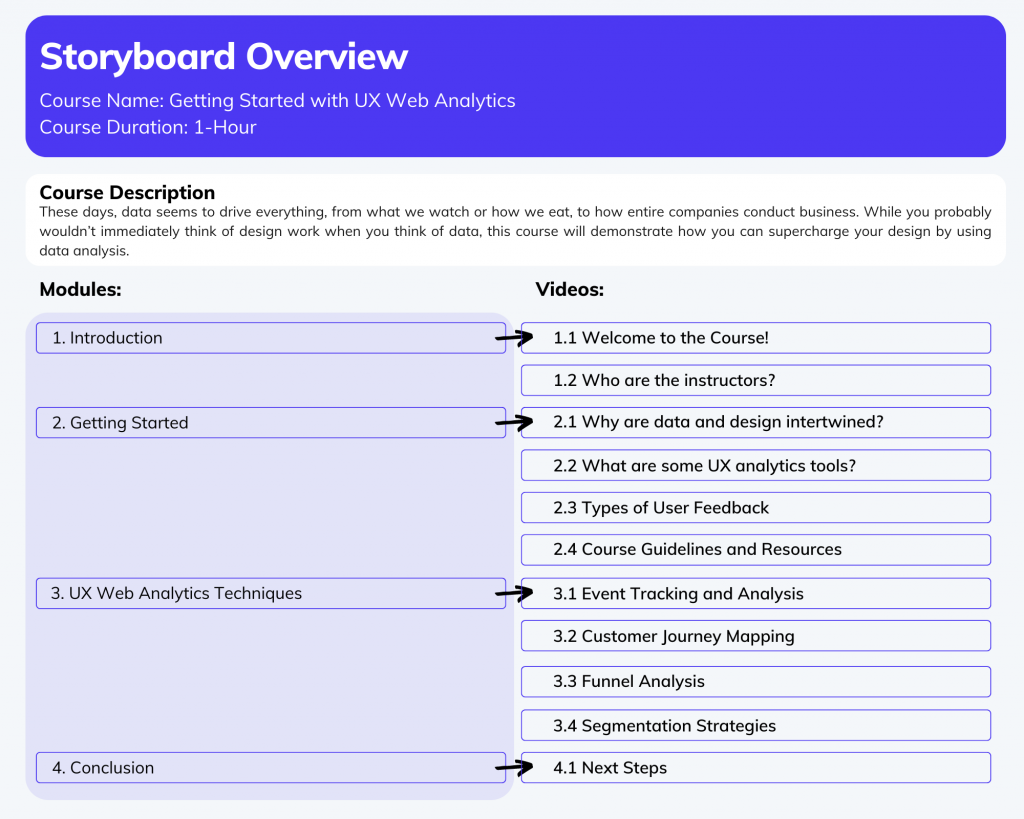
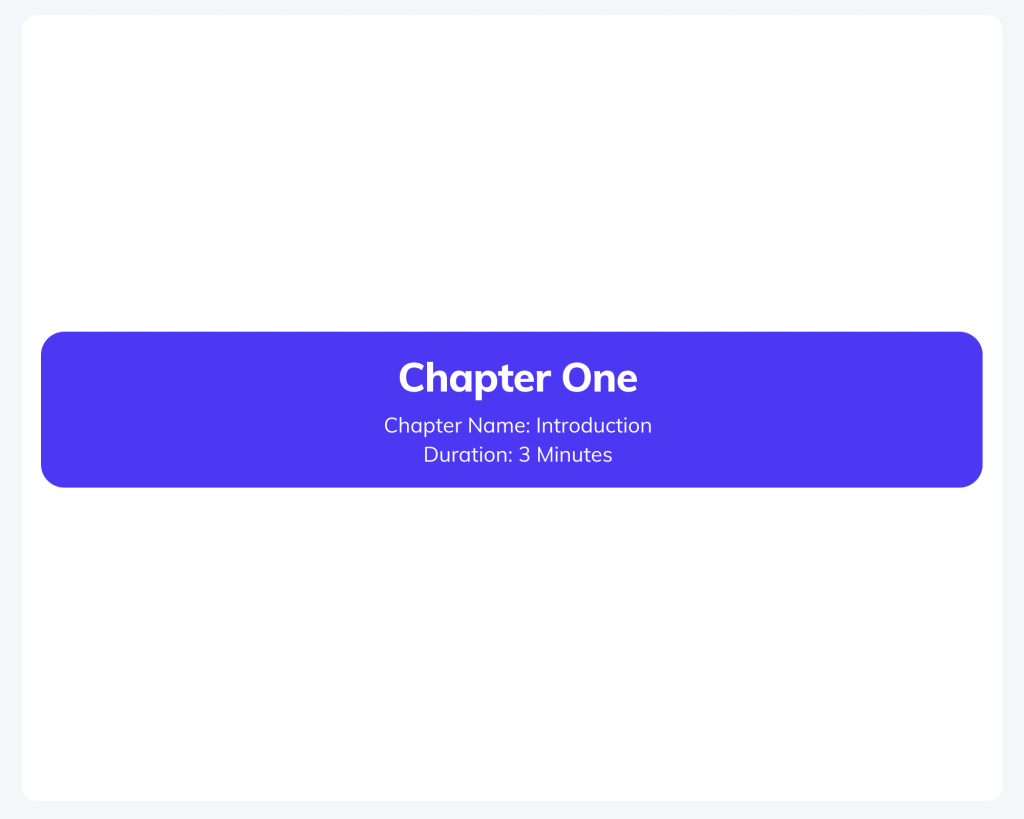
A smart way to organize your content and get a real sense of how your final course will look is by using a storyboard. A storyboard can help you visualize the flow and structure of your entire course before you begin production. At SkildLabs, we have developed an eLearning Storyboard template that is available via our partner Canva and will help you kick off your course development journey.

4. Choose a platform or tool for hosting and selling your courses
There are many different platforms and tools that you can use to host and sell your online course. Before you make a decision and especially if you are developing a course for your company, I highly recommend you to take a look at our guide on how much it costs to develop an online course in 2022 as this will give you a rough overview of the total costs.
Also, it’s important to note that there are two main types of platforms that are often confused: those that focus on acting as a marketplace where you can sell your course and Learning Management System (LMS) platforms where you can build and host your course, but have to bring your own audience.
Online Learning Marketplaces
For example, some popular platforms include Udemy, Skillshare, and LinkedIn Learning. These platforms are ideal if you want to scale your own brand, as they provide a simple way to host your content, set a price for your course and also advertise it to an existing base of students.
However, they also take a percentage of the profits, so you may not want to use them if you are selling high-priced courses. The best part of these platforms is that they require very little up-front investment, making it a great option for those just starting out. Overall, they take care of the marketing for the course, allowing you to focus on creating content.
Pros (+)
- Low up-front investment.
- On-site marketing and promotion of your course.
Cons (-)
- Large percentage of profits may be taken.
- Competition from other instructors on the same platform.
- No ownership in the platform.
Learning Management Systems (LMS)
An LMS platform is a great option if you want more control over the course and don’t need as much marketing help from your platform. For example, you may want to create a custom domain that links directly to your sales page. You can also add other marketing elements such as opt-in boxes and CTAs.
One popular option is Thinkific, which provides a custom domain, a course portal to host your content, and several other tools to help you sell your courses. You have 100% ownership of your content and luckily, Thinkific also has a free tier, so you can always explore the platform.
Pros (+)
- More control over your course and sales process; no percentage taken from the profits.
- Ability to create a custom course website and branded sales pages for your course.
- More customization options and integrations with other software.
Cons (-)
- Need to invest more time and money upfront to build your site and create your course.
- Often, a flat monthly fee for more premium tiers.
You can also create your own cohort-based course or grow a community around your expertise with platforms like Disco.
Disco brings learning and community together on one platform with all the tools you need to build, operate, and scale your learning experience. This platform might be a better option if you have a specific brand or audience that you want to target, or if you want to host live learning and interact with your audience in a more personal way.
5. Market your courses
Once your course is ready to go, it’s time to start marketing it (even if you have gone the marketplace route). There are many different ways that you can promote your course, including through blog posts, social media, online advertising, email marketing campaigns, and more. The key is to choose a few channels that you are comfortable with and that make the most sense for your particular audience. A few of my promotional go-to techniques include:
Offer a free course preview
One way to increase your sales is to offer a free preview or demo of your courses. This will allow prospective customers to get a sense of what your course is like without having to commit any money upfront.
You can feature a few lectures from your course on YouTube or the sales page for your course. You can even include a free lesson that users can access after signing up for a waitlist. This is a great way to get more people interested in your course and increase conversions.
It is worth mentioning that the video you share, need to solve a problem and the audience can extract value right away. In that way, they are more likely to enroll in your full course.
Leverage snackable content on social media
Social media platforms like Instagram, TikTok, and Snapchat have begun to dominate the short-form content landscape, and leveraging their abilities is key. If your course is new, you might consider partnering with a larger social media account to co-promote a course or perhaps create your own account, where you share small snippets of your course. This is an example of a partnership I did with Udemy that helped me increase sales and booth visibility for my course on the platform.
Start a newsletter
This might sound like an old-school approach, but newsletters and written content are a dominant force in the eLearning world. A newsletter is a great way to generate first-party data that you own and can always leverage when promoting courses, digital products, or new releases.
You can use Medium, Substack or the LinkedIn Newsletters feature to host a newsletter and build an audience that is relevant to your courses.
6. Test and refine your courses
Once you have had your course running for a while and have welcomed your first batch of students, you will begin to collect data. This might include engagement rates for each video lesson, interaction with quizzes and exercises, and overall course completion rate. You will want to test different things, such as the course structure, content, and pricing options.
The goal is to refine your course until it is as effective and valuable as possible. This will help you attract more students, which will ultimately make your course a success. In addition, it will help you improve your course over time so that you can sell additional courses in the future.
Conclusion
As you can see, creating an online course can be an effective way to monetize your expertise and reach a global audience. However, building a course from scratch is no small feat. There are a few key steps that you will need to follow in order to achieve this goal, including developing an outline, creating content, choosing a platform or tool, marketing your course, and testing and refining it before launching.
That being said, if you don’t know where to start and are hesitant about how to build a course, you can always contact us and let us know what help is needed. We cover course development from beginning to end, including video scripting, storyboarding, production, and learning platform configuration.
Whatever path you choose, remember that the key to success is to be persistent, work hard, and never give up on your dreams!